Thursday 26 July 2012

Welbeck Part Two-A Tale of An Eccentric Duke And His Underground Ballroom And Glorious Jam Making And Delicious Fruit Liqueurs...


As the sun is now putting in a much overdue appearance, then the fruit and vegetables in the garden can finally romp away and grow...

The keen gardener then wants to capture all that wondrous bounty and save its deliciousness to eat later on in the year when the pickings are somewhat more sparse.

A great way of preserving fruit is by making jams, jellies and- for those that care to imbibe in a little alcoholic libation-a decadent fruit liqueur...

But first, a little tale of an eccentric Duke...

The 5th Duke of Portland (1800-1879) was a quiet, contemplative man but just a touch eccentric...

Described by all, as ‘a little introverted’, he did not encourage visitors to his vast estates. 

Even his servants were instructed to not acknowledge his presence and he communicated to them by writing...even to the extent that each of his rooms each had a letter box to send and receive any written communications...

He generally ventured outside only in darkness and if he did go out by day, would wear two overcoats with high collars and carry a large umbrella which he would hide behind if addressed.

He took over the Welbeck Estate on the death of his father, the 4th Duke, and subsequently made substantial changes. Not least were the series of underground rooms and tunnels totalling 15 miles in length. 

He had built various underground rooms including a Billiard room, a Library, an Observatory and a huge Ballroom which supposedly contained a hydraulic lift to carry at least 20 people to the surface.

In the main house-above ground- he retreated to just 4-5 rooms which he stripped of furniture but had a commode placed in each room in the corner...

All rooms both in his private suite in the main house and those below ground were painted in pink.

His life is absolutely fascinating and well worth further perusal...


Back to the Cookery Course...


Now I have made various jams and jellies for a number of years and in more recent years some fruit liqueurs...but there is always room 
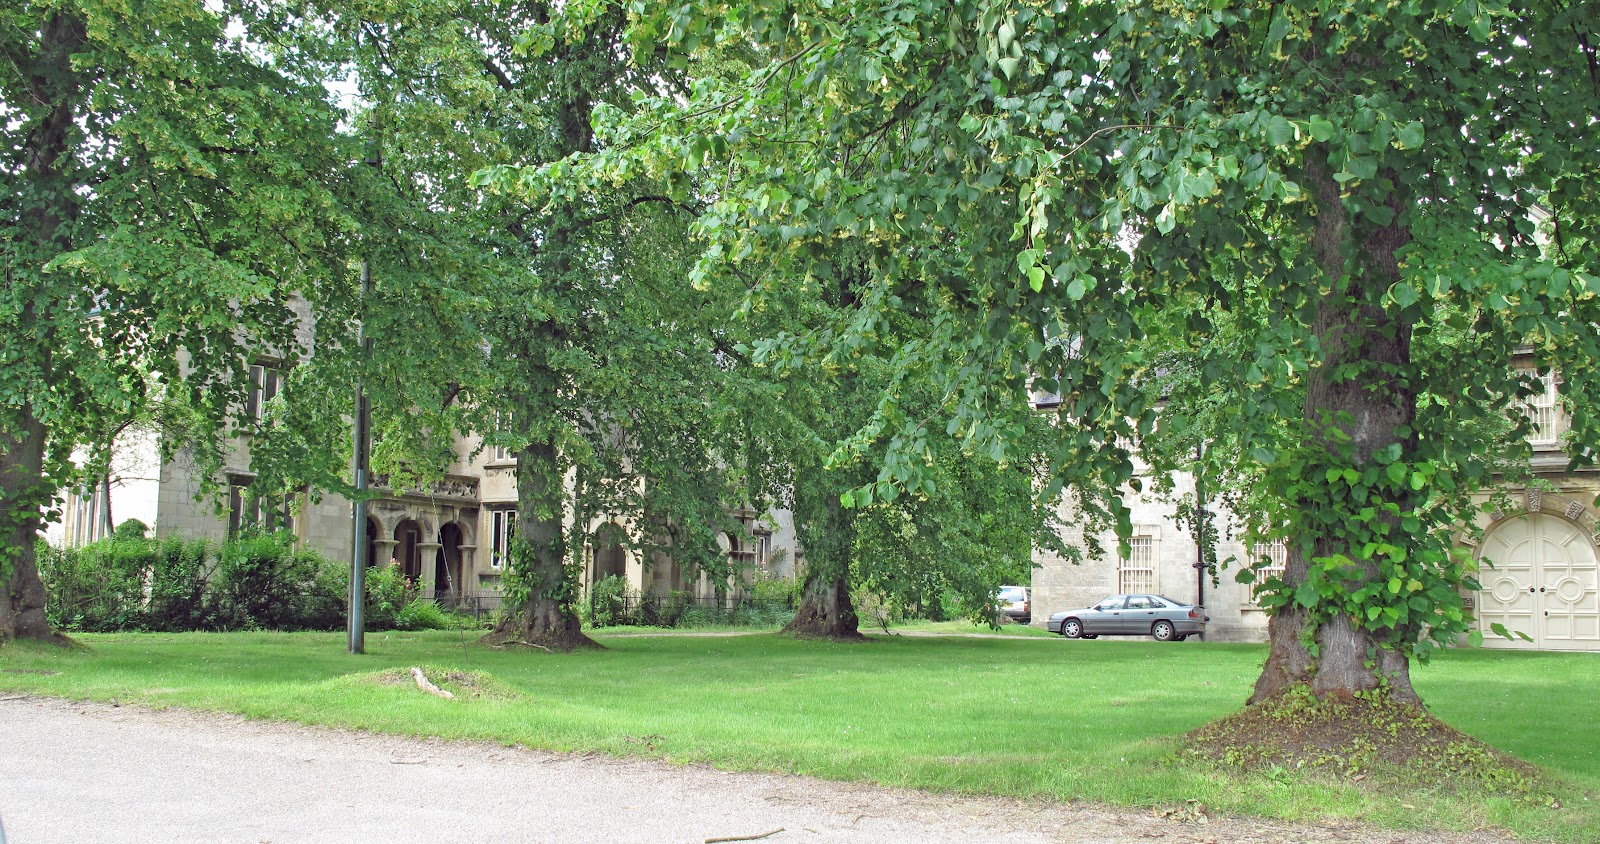
for improvement and consequently I signed up for the Summer Preserves and Liqueurs at The Cookery School at The Artisan School Of Food at Welbeck.

In my previous post I described the recipe for Sweet Chilli Jam.

Also on the course we made a succulent and sweet Apricot Jam and a rather delicious Recurrent Jelly. If anyone is interested in these recipes then do let me know and I’ll add it to a future post. 

Jams and jellies are truly wondrous and so easy to make and then enjoy for the rest of the year...


And what did I learn from the course that I didn’t know before??

  •  Make sure you wash and thoroughly dry the fruit before cooking. Any lingering water will invite mould to develop.

  • To maintain excellent fruit flavour, make small quantities at a time.

  •  This will ensue that the mixture will come to the setting point much quicker and thus preserve more of the fruit flavour. The quicker to setting point, the better the flavour.

  •  Use a digital thermometer probe for more accurate temperature takings but make sure you don’t touch it on the bottom of the pan but just slightly above it.

I also invested in a new jam straining bag and stand that we used on the course and highly recommended it is too!- my previous one had a tendency to collapse!


Recommended Bag and Stand from

 
and the cheap but excellent digital thermometer to give more accurate temperature guides,


from

And finally... the recipe for making a fruit liqueur...

Making a fruit liqueur is ridiculously easy and once made, can be put in pretty glass containers and given as very welcome Christmas gifts.

In the past I have simply thrown the quantities together and, I am thankful to say, the results have been certainly rather quaffable...

However, today I would like to share the recipe I was given on the course-just slightly tweaked by myself, for you to make your own.

Blackcurrant Liqueur

Use a 1 litre Kilner jar-
Ensure the jar is clean and sterilised-I put mine through the dishwasher and then dry off upside-down in a warm oven (minus the rubber seal) until needed. Remove carefully from the oven as the glass will be hot. Once filled then add the rubber seal to the lid and close.

Ingredients

300g blackcurrants
150g caster sugar-caster is better as the finer grainer will dissolve easier
Vodka to top up the jar-I used the cheapest supermarket one when on special offer

Method

Wash the fruit and dry well

Mix together the fruit and sugar in a large, 1 litre Kilner jar

Pour the vodka over the fruit up to the maximum line on the jar.

Seal and store in a cool and dark place.

 Gently shake every day for the first 2-3 weeks until all the sugar is dissolved.

After that, gently shake occasionally.

After 3 months, decant into smaller bottles and drink!

You can alternatively serve straight from the jar!

Don’t waste the boozy fruit but serve them with vanilla ice-cream or put them on top of a sheet of some flaky pastry, bake quickly in a hot oven and then serve with Crème Fraiche or some delicious Clotted Cream!

This recipe could be used with other fruit such as raspberries, blueberries, strawberries etc. -or a mixture of the available Summer fruit. 

I cannot more highly recommend this recipe. It is so, so, easy-not really a recipe at all-but the results are amazing and absolutely delicious!!

If you decant and then bottle the results in some pretty bottles then the resulting gifts given to friends are always very, very gratefully received!

Seen below are examples of three of my homemade fruit liqueurs- Raspberry, Strawberry and Blackcurrant...


Until next time, drink wisely and well...

Saturday 21 July 2012

The School of Artisan Food on the Welbeck Estate And The Wonderful Stichelton Cheese....


"sumptuous cheese that sets a full-flavoured, succulent, complex chain of sensations going in your mouth: fruity and salty, buttery, and earthy, sharp and creamy. Robin Hood never had it so good."

And that’s just how Forbes Life Magazine described Stichelton cheese...

I do have to say, I rather agree...but please read on...

As our Summer rolls gently onward and the produce from the garden increases, then thoughts turn to how best to store all this wondrous bounty.

I make various, jams, jellies, chutneys and fruit liqueurs during the year but felt I may have needed a little refresher on technique so signed up to go on a course at The School of Artisan Food on the Welbeck Estate in North Nottinghamshire. 


I had first heard of this place last year when they had a stand at The Abergavenny Food Festival and their cheese- the delicious artisan blue Stichelton- was featured at The Cheese and Bread Tasting Tutorial, which I had the pleasure of attending, led by the charismatic bread maker Tom Herbert (from The Fabulous Baker Brothers shown on television last year) and the larger than life, Todd Trethowan, cheese maker of Gorwydd Caerphilly Cheese. 

Both raved about Stichelton cheese which was first produced in 2006. This creamy blue cheese is Stilton in character but cannot be called a Stilton because it uses unpasteurised milk. Stilton makers chose to use only pasteurised milk following a Listeria scare in the late part of the 20th century and when they were awarded PDO status (Protected Designation of Origin) by the EU in 1996, it was then enshrined that all Stilton cheese had to be made using pasteurised milk.

There were other ‘politics’ which Tom and Todd alluded to but I won’t mention them here...

Luckily some of the original bacteria for making Stilton using unpasteurised milk had been retained and the cheese champion Randolph Hodgson of famous Neal’s Yard Dairy and American cheese maker Joe Schneider, began making Stichelton cheese on the Welbeck estate using milk from a herd of Friesian-Holstein cows that graze on the estate. 

The name ‘Stichelton’ come from the old pronunciation of the village of Stilton as given in The Doomsday Book of 1086, commissioned by William the Conqueror.

Shown below is a nice hunk of creamy succulent Stichelton Cheese together with my freshly baked Sour Dough loaf baked using my new proving basket obtained from the School to give that characteristic ridged appearance.


Anyway, I digress...

Back to Welbeck.

It is a long haul up to north Nottinghamshire from South Wales, so I was very grateful to be able to drive up the day before and stay with good friends in nearby north Leicestershire.  Early next morning, I set off and within the hour was driving in to the magnificent grounds of the Welbeck Estate.


It is vast and despite the signage, I wanted to make sure I was heading in the right direction for the Cookery School. A very helpful chap who was walking through the grounds gave me detailed instructions on how to find the School. Later on that day, I met up with him when I popped out very briefly at lunchtime from the cookery course to the Farm Shop to buy my Stichelton cheese and who should be behind the counter but this same helpful chap! I do have to say this is a very good Farm Shop. An excellent range of good cheese and other produce!

And now on to the Cookery Course itself...

I liked the fact that there were only a dozen of us on the course and we worked in pairs and the pace was very relaxed. We had ample space to work in the light and airy space that was once the nineteenth century fire station for the estate. Our tutor was clearly enthusiastic about her subject and easily accessible to ask any questions.
First up, a very delicious and utterly delectable,

 Red Chilli Jam...


This recipe is taken from the given cookery course notes and makes 6 x 227g jars.

Ingredients:

1kg ripe tomatoes-chopped
50g granulated sugar
85ml white wine vinegar
6-10 fresh red chillies-finely chopped
2 tsp salt
2 tbsp tamari sauce
Juice of a lemon

Method:

Add all the ingredients into a large pan.


Cook over a gentle heat for 10-15 minutes, until the sugar has dissolved.

Bring to the boil and then simmer until thick, around 40 minutes.

When the mixture is a thick, jam like consistency, remove from the heat.

Remove any scrum from the surface with a slotted spoon.

Pour into warm, sterile jars and seal.


 This is fantastic and wonderful to pep up a dish and add that extra chilli zing.  I’ve used it subsequently with Fishcakes, BBQ King Prawns and a Mushroom Nut Loaf.

When making it you can vary the warming chilli heat by removing the seeds, however I left them it and the subsequent heat was just moderate for me-but then I am used to chilli!!

Having now made it for myself, I won’t be going back to buying ordinary store bought sweet chilli sauce!


And finally the kittens...


Wilma’s kittens are now three weeks old and are starting to explore more and more around the kitten box. Their final colours are starting to become more apparent.

 In the UK there are 10 recognised Burmese colours, Brown, Blue, Chocolate, Lilac, Brown Tortie, Blue Tortie, Chocolate Tortie, Lilac Tortie, Red and Cream. 

All are genetically governed and thus every Burmese breeder needs to know and understand basic colour genetics.

 Wilma, their mum is a Brown, carrying Blue and, I thought, possibly Chocolate. She was mated to a Blue carrying Chocolate and thus the possibilities in her litter could have been Brown, Blue, Chocolate and Lilac.

 Often at birth it can be difficult to tell what the colours are until the kittens are about 4 weeks old.

 Still an experienced breeder can have some inkling before then and thus it seems that Wilma has produced Lilac-the top two shown, Brown-the middle three and Chocolate-the bottom one. Granny, Blue Belle, babysitting is a Blue.

Of course I was after a Blue to keep which is typical...

I really want to keep one that will be up the very exacting standards to show and breed on from.

So I will wait and see if there is one that may just stay...Fingers crossed....

Next time, I will focus on making some delicious Fruit Liqueurs and a rather eccentric Duke and his underground ballroom...

Until then, enjoy your bounty from the garden...